
A short tutorial showing you how to use a work around to colour code your video clips in Final Cut Pro.
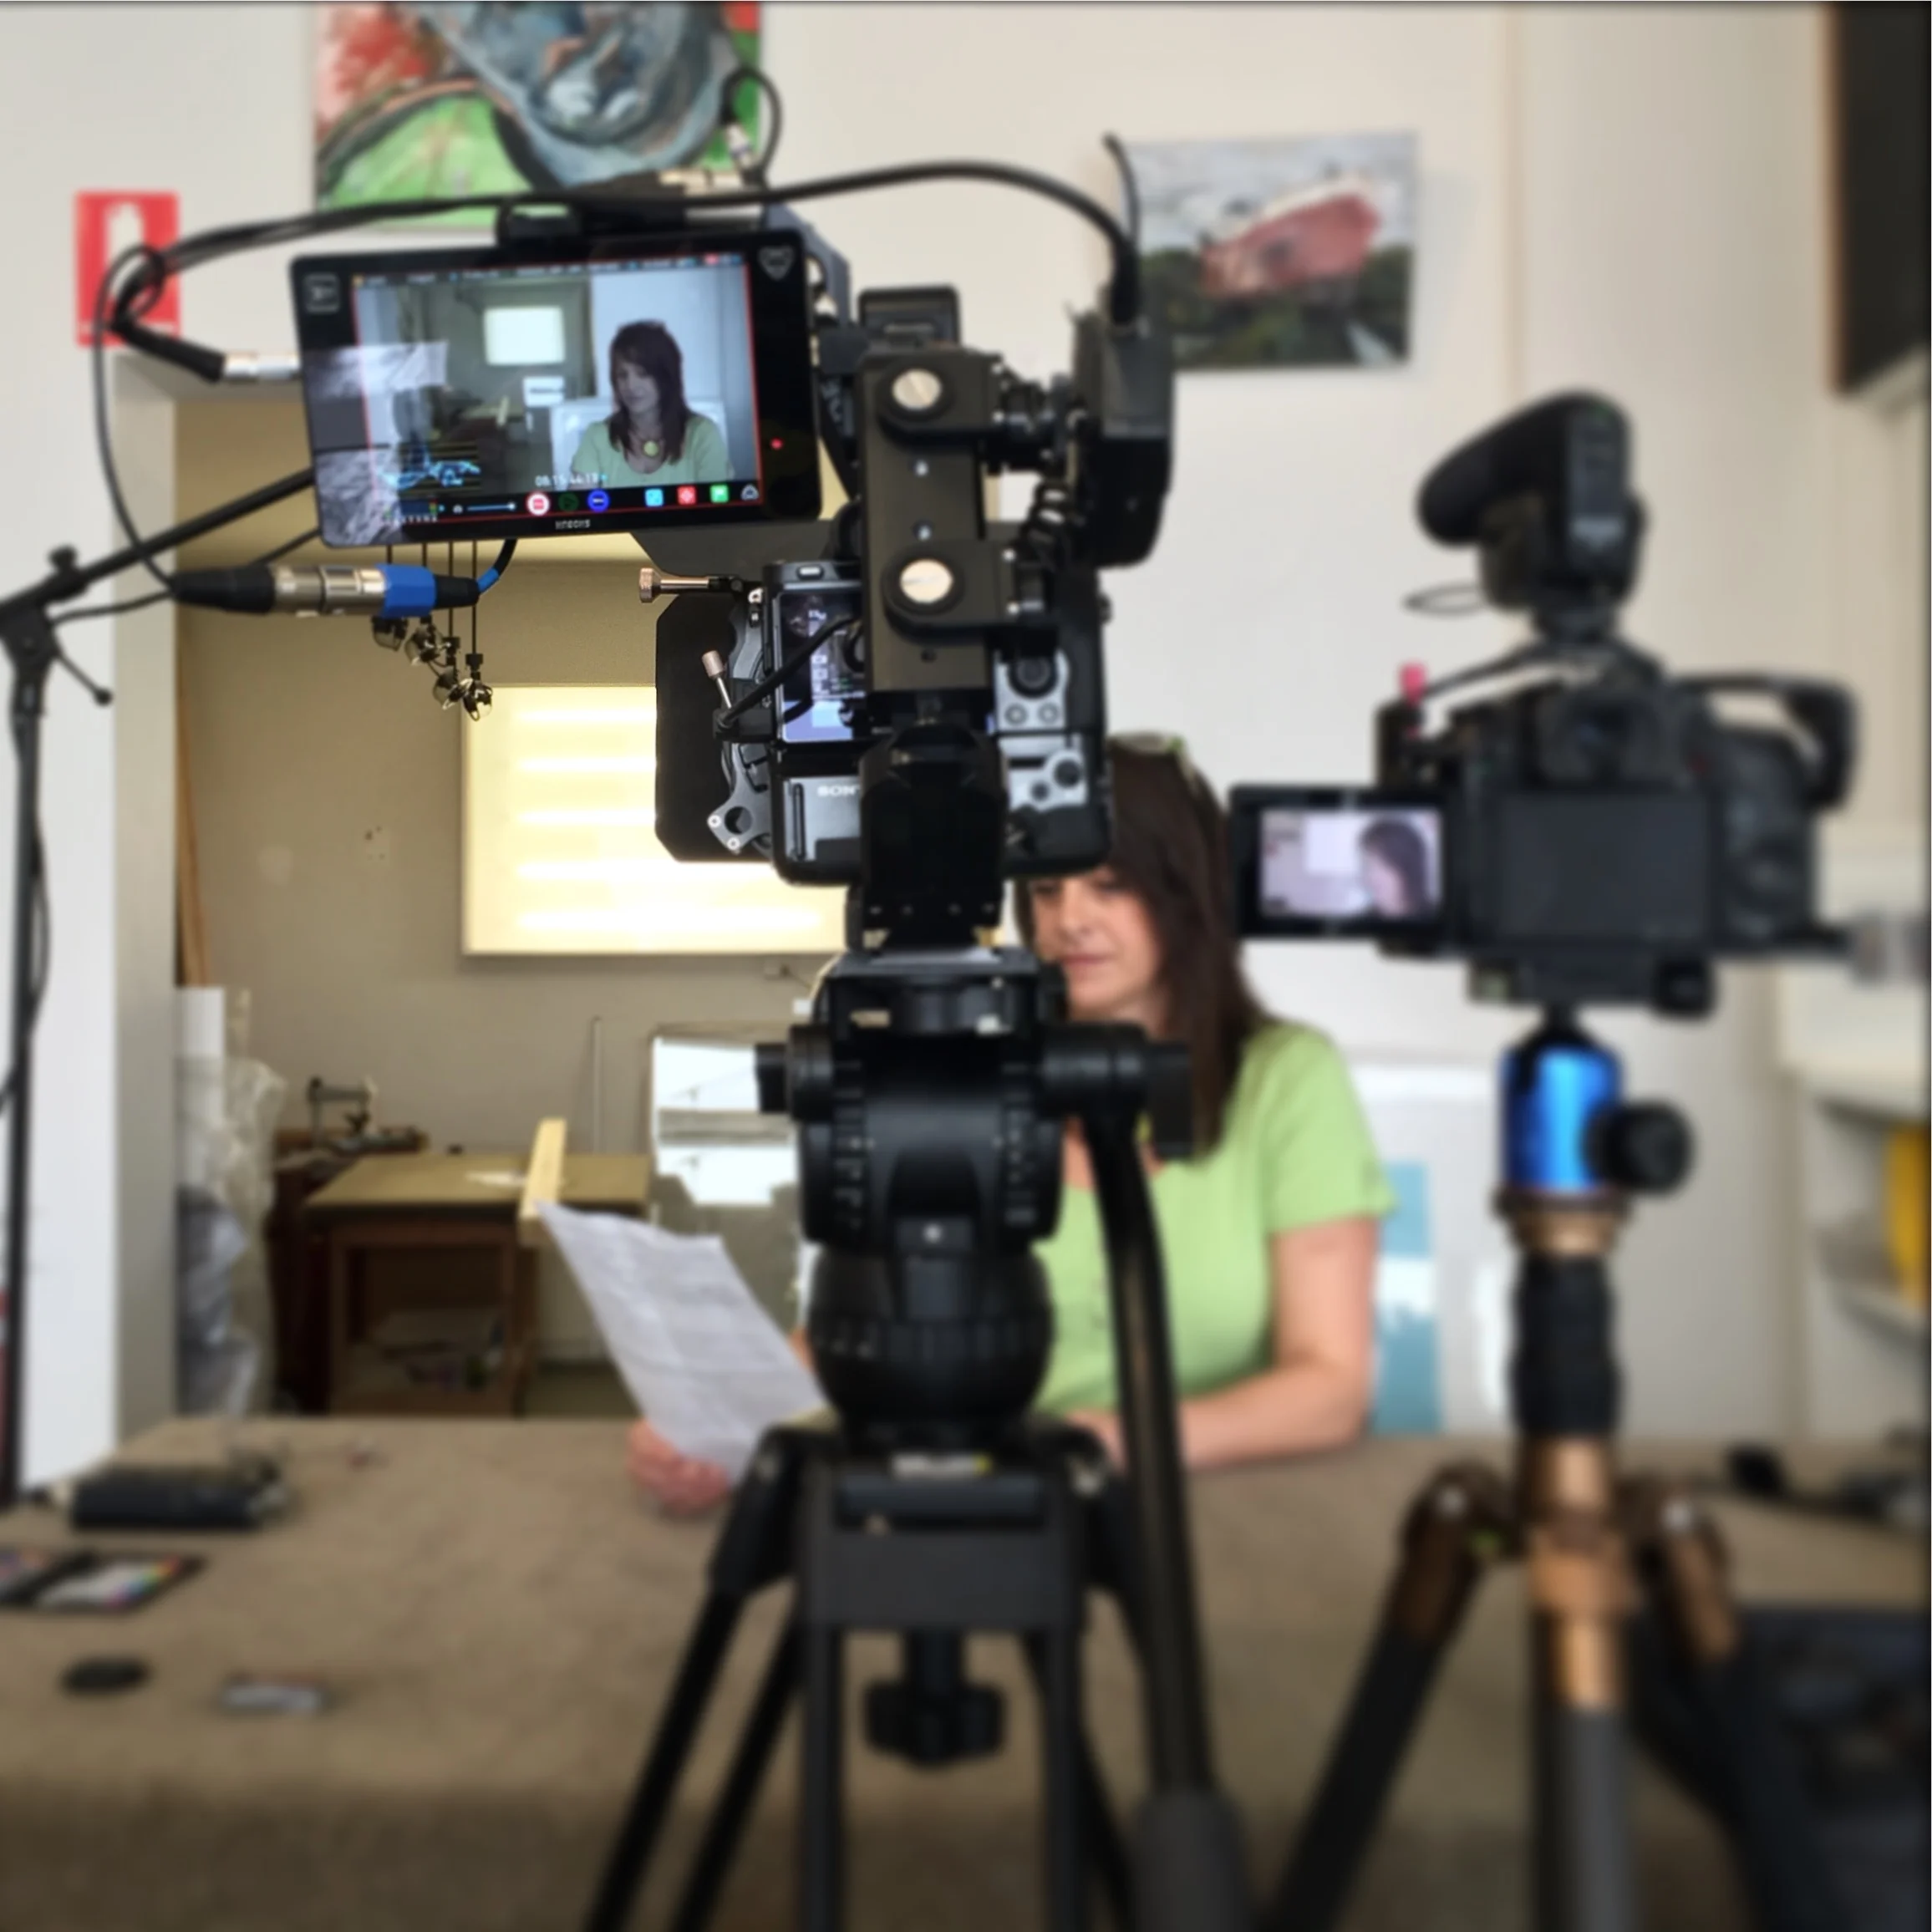
With so many more people needing to do video chats. I thought it would be a good idea to put this video together to help you all with some tips to help you look and sound your best. We look at how to setup your environment for filming. How to light. How to get better audio and some extra bits.
A quick look at how using roles in FCPX can help you work faster and smarter
Quick tip on how you can use a shape mask with colour correction to cover flare on a clip in FCPX
This tips shows how you can use FCPX to remove camera flicker.
How to use a J cut or L cut in FCPX to do a quick fix of an untidy edit.
Some tips on how to use the Range too in Final Ct Pro X to help you speed up your eating.
A short tutorial to show you how to use J Cuts and L Cuts to smooth out an edit in Final Cut Pro X.
Also a brief explanation on what J Cuts and L Cuts are. :)
I’m on a mission and I’d like your help with starting a movement. We “see” with our ears and we don’t even realise it. Have you ever started watching a YouTube video and thought “Something is not right, but I can’t quite work out what it is”? Odds are, that thing you realise isn’t right but can’t identify, is that the audio on the video is not very good.
Whether you are making a YouTube video, an independent film, or just a home movie, if you want to make it easier for people to watch, make sure you pay some attention to your audio.
You can get away with average footage and good sound, but even if you have the most amazingly beautiful cinematic footage, if your audio is bad, people will turn it off in less than a minute.
So let’s talk about how you can make your audio better on your next video when filming someone talking.
1- Don’t use the microphone on your camera or computers as the main microphone for your project, especially if you’re shooting with a DSLR or mirrorless system. The microphones on these cameras are fine for getting reference audio, but they really aren’t very good.
Simply mounting a shotgun mic on your camera is a good start to getting better audio of what is going on around your shoot. If you have people talking, ideally you want to have a microphone on them, but that we’ll talk about later. So a shotgun like the Rode VideoMic Pro is a great start to better audio.
2- If you are just using your computer’s built-in webcam, using the microphone on your mobile phone and having the phone closer to you will sound better than using the microphone on your computer. This is one way to improve your audio without having to go out and buy equipment, but if you want to really focus on your audio, you’re going to start looking at different options down the track.
3- Be aware of your environment. If you’re recording outside, you’re obivously going to have to deal with everything that comes with the outdoors, but don’t think that indoor audio is any quieter. Recording inside can mean room echo and the more hard surfaces there are in a room, the more echo you’ll have to deal with. Try to record in a space with carpet and soft furnishing to absorb some of the sound if you can. If you can’t, think about laying down towels or blankets on hardwood floors and softening the space however you can.
4- Keep in mind that the more distance you have between your microphone and the source of your audio the more ambient noise you’re going to be capturing too. So if you’ve got someone talking to camera, your microphone is on your camera and your camera is more than 5-10 feet away from your subject, you’re going to get a lot of ambient noise no matter how quiet you think the space is. One way the way to fix that is to get your microphone on your subject and that’s where we come to the lavalier mic. These are little mics that you put on your talent - designed to either go above or under clothing to be unobtrusive but capture clear audio.
5- Think of your budget! There are lavalier mics and there are lavalier mics - it all depends on budget, as most things do. You can go wireless, which can be expensive, or you can get a really long cord, which can be dangerous because people could trip over it. A cost-effective solution is something like the Rode SmartLav+. It’s a lav mic that you can plug into your smartphone and then have your talent put the phone in their pocket and sync the audio together later in your video editing software. Just a quick tip so you don’t make the same mistakes that I have - remember to put your phone into Airplane mode, because if someone tries to call you half way through your shoot, the phone will stop recording. I only let that one happen to me once.
6- Monitor your audio. Don’t trust the levels indicator on your camera. Use a set of headphones and list to what is coming into the camera. This will give you an idea of how much background noise your microphone is picking up.
At the bottom of this article is a short video I created to give you an idea of the difference in sound quality you get the closer you get your mic to your sound source. This was recorded indoors and you’ll see that, as I mention above, one of the big challenges indoors is room echo. Sound bounces off things, so the smaller a room is, and the more solid the walls are, the more sound is going to bounce around and so you get that “echo”.
As soon as you start paying attention to your audio, you’ll realise that even a few small changes in your setup can make a huge difference. Small changes like not using your camera or webcam microphone or softening the space you record in are good ways to start and getting the right equipment for the job will make the biggest difference to how people respond to your videos, whether they realise it or not!
A short tutorial on how to quickly and easily move the connection point of your connected clips in Final Cut Pro X
I have always found this a very useful tool in Final Cut Pro X. By default when you export it exports your entire project, but what if you only want to send out a short clip to add some effects in Motion or After Effects, or make some audio adjustments? This tutorial shows you how.
Sometimes you find a really cool title you want to use, but not all the parameters are adjustable in FCPX.
You can open most of these in Motion and adjust them there, but what if it's a template you use all the time and don't want to have to go back to Motion every time you want to make changes?
There is a way to add adjustable parameters to these templates from Motion to FCPX. What the tutorial and learn how.
I’ve been working on this project for a friend of mine and needed to make some quick audio fixes to remove small noises from the recording. I’ve created a short tutorial to show you how to do it in FCPX.
A quick tutorial showing you how to create a time-lapse using Final Cut Pro X
A quick tutorial showing you how to easily do colour correction in Final Cut Pro X.